Event Management
The core of the platform is the Event. Each fundraising campaign is treated as a distinct event with its own settings, goal, and branding.
Creating an Event
- Navigate to the Events tab in the sidebar.
- Click the "Create Event" button.
- Fill in the basic details:
- Name: The display name of your event (e.g., "Ocean Cleanup 2025").
- Slug: The unique URL identifier (e.g.,
ocean-cleanup-2025). This will form your event URL:http://localhost:5173/ocean-cleanup-2025. - Goal Amount: Your fundraising target.
Event Dashboard
Clicking on an event card takes you to that specific event's dashboard.
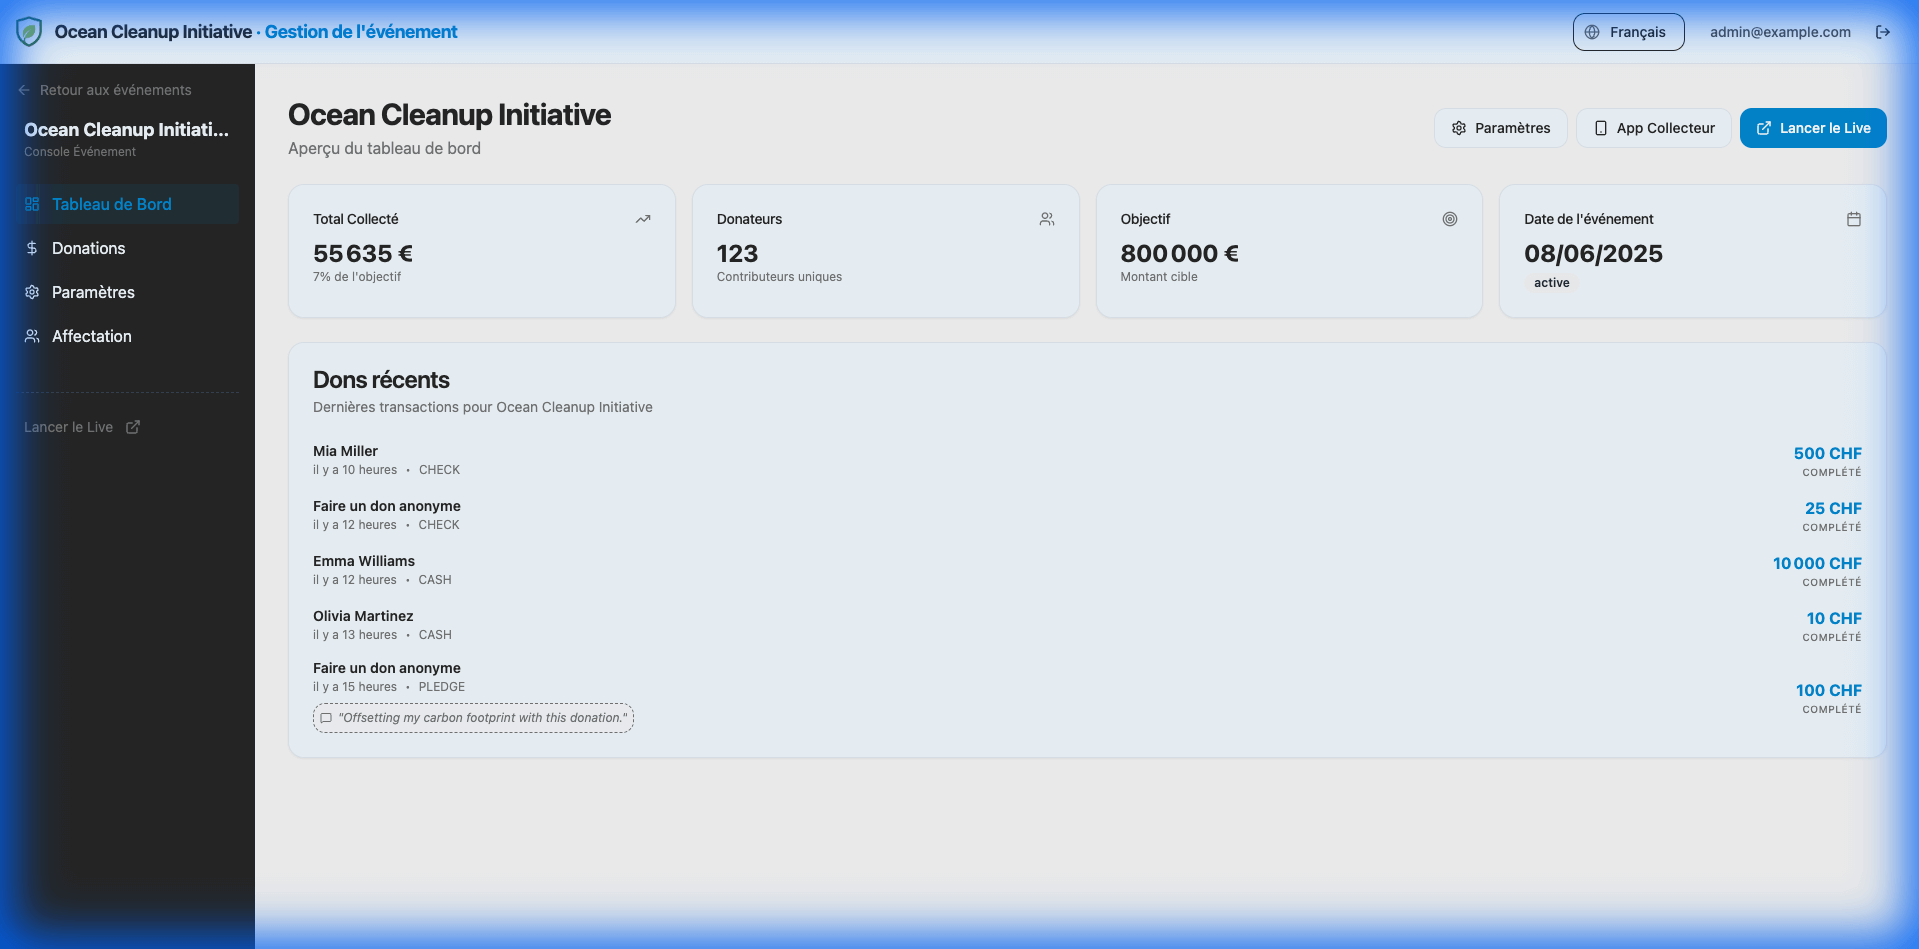
Quick Actions
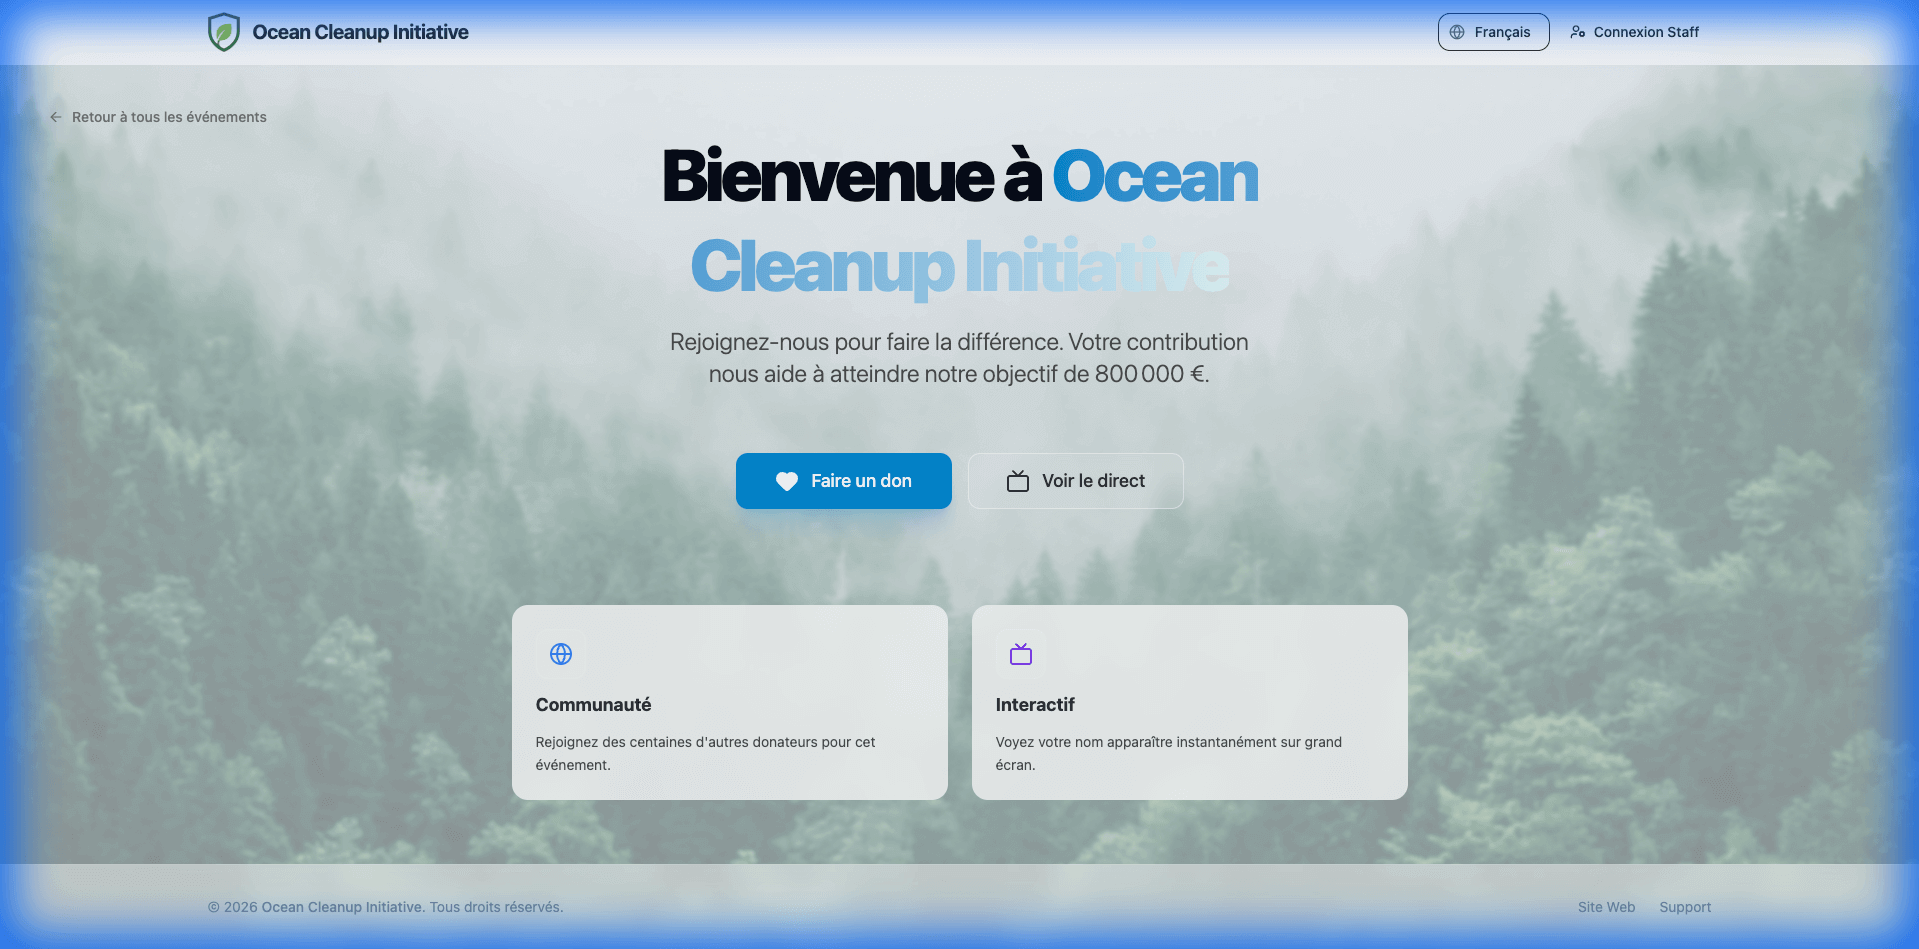
- View Landing Page: Opens the public donation page.
- Launch Live Mode: Opens the real-time display screen.
- Event Settings: Configure advanced options.
General Settings
In the Settings tab of an event, you can configure the following:
Basic Details
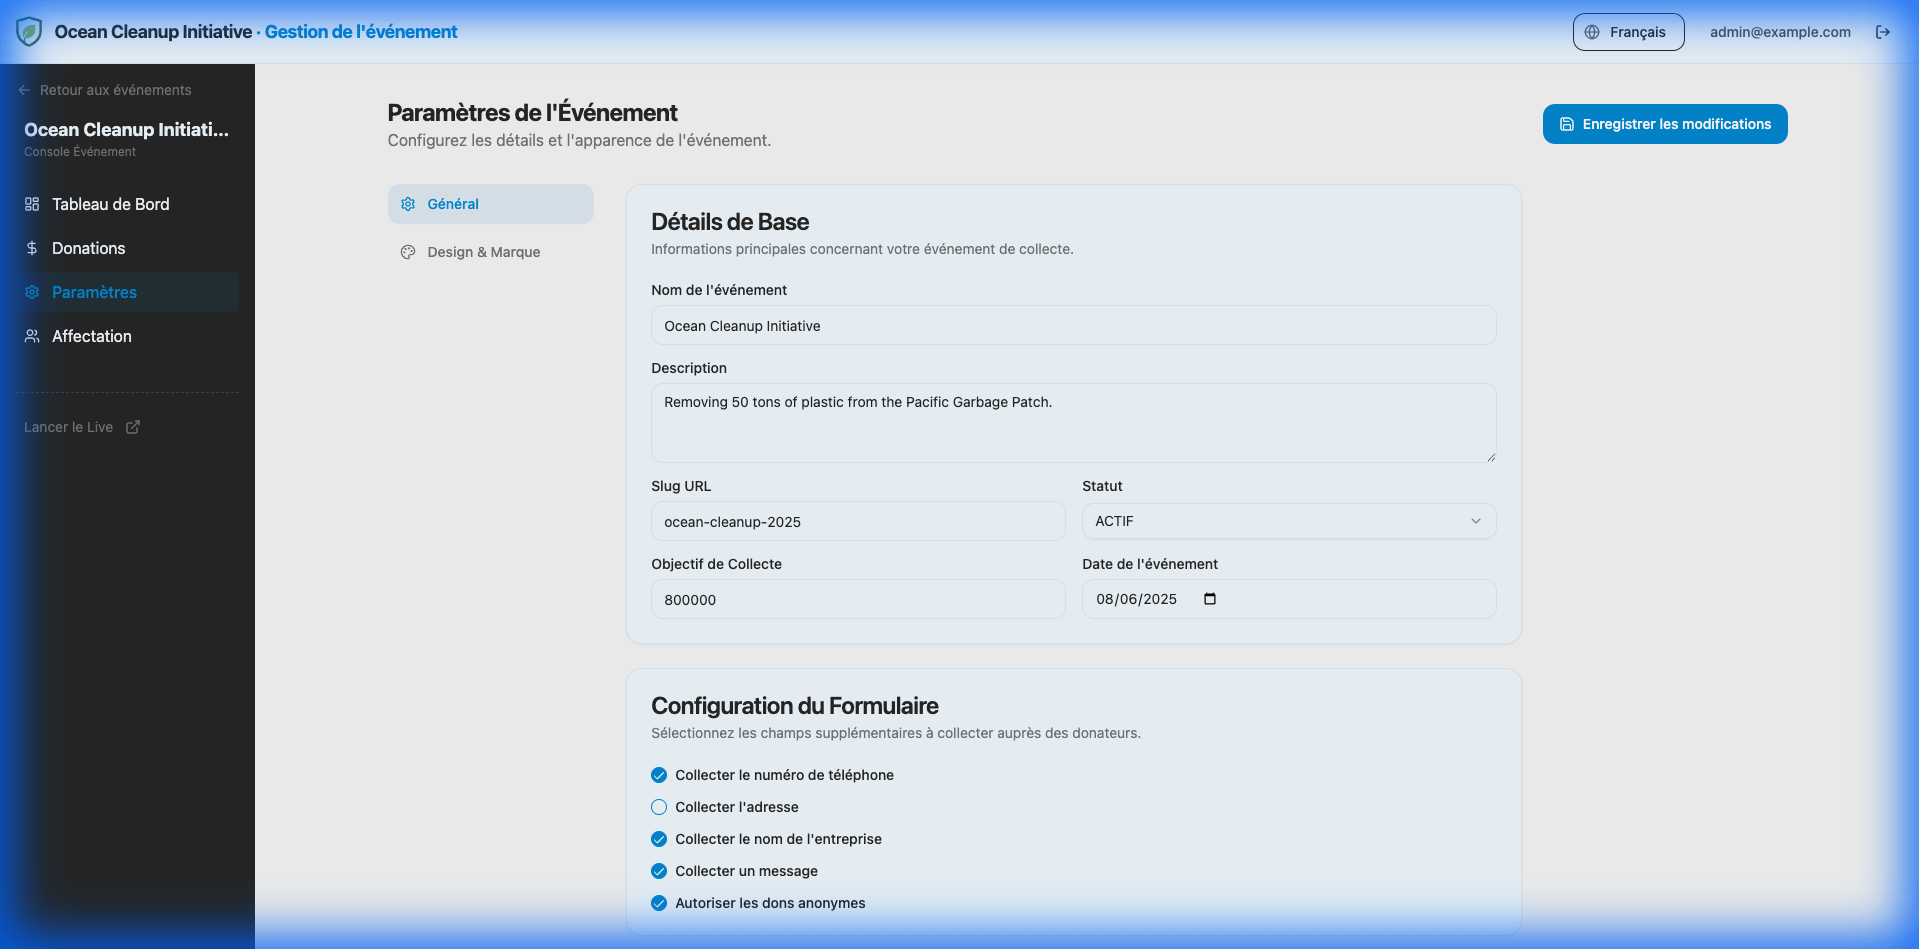
- Description: A short summary of the event (SEO friendly).
- Date: The scheduled date of the event.
- Status:
Draft: Only visible to admins.Active: Publicly accessible and accepting donations.Closed: Visible but donations are disabled.
Form Configuration
Customize what information you collect from donors during the checkout process.
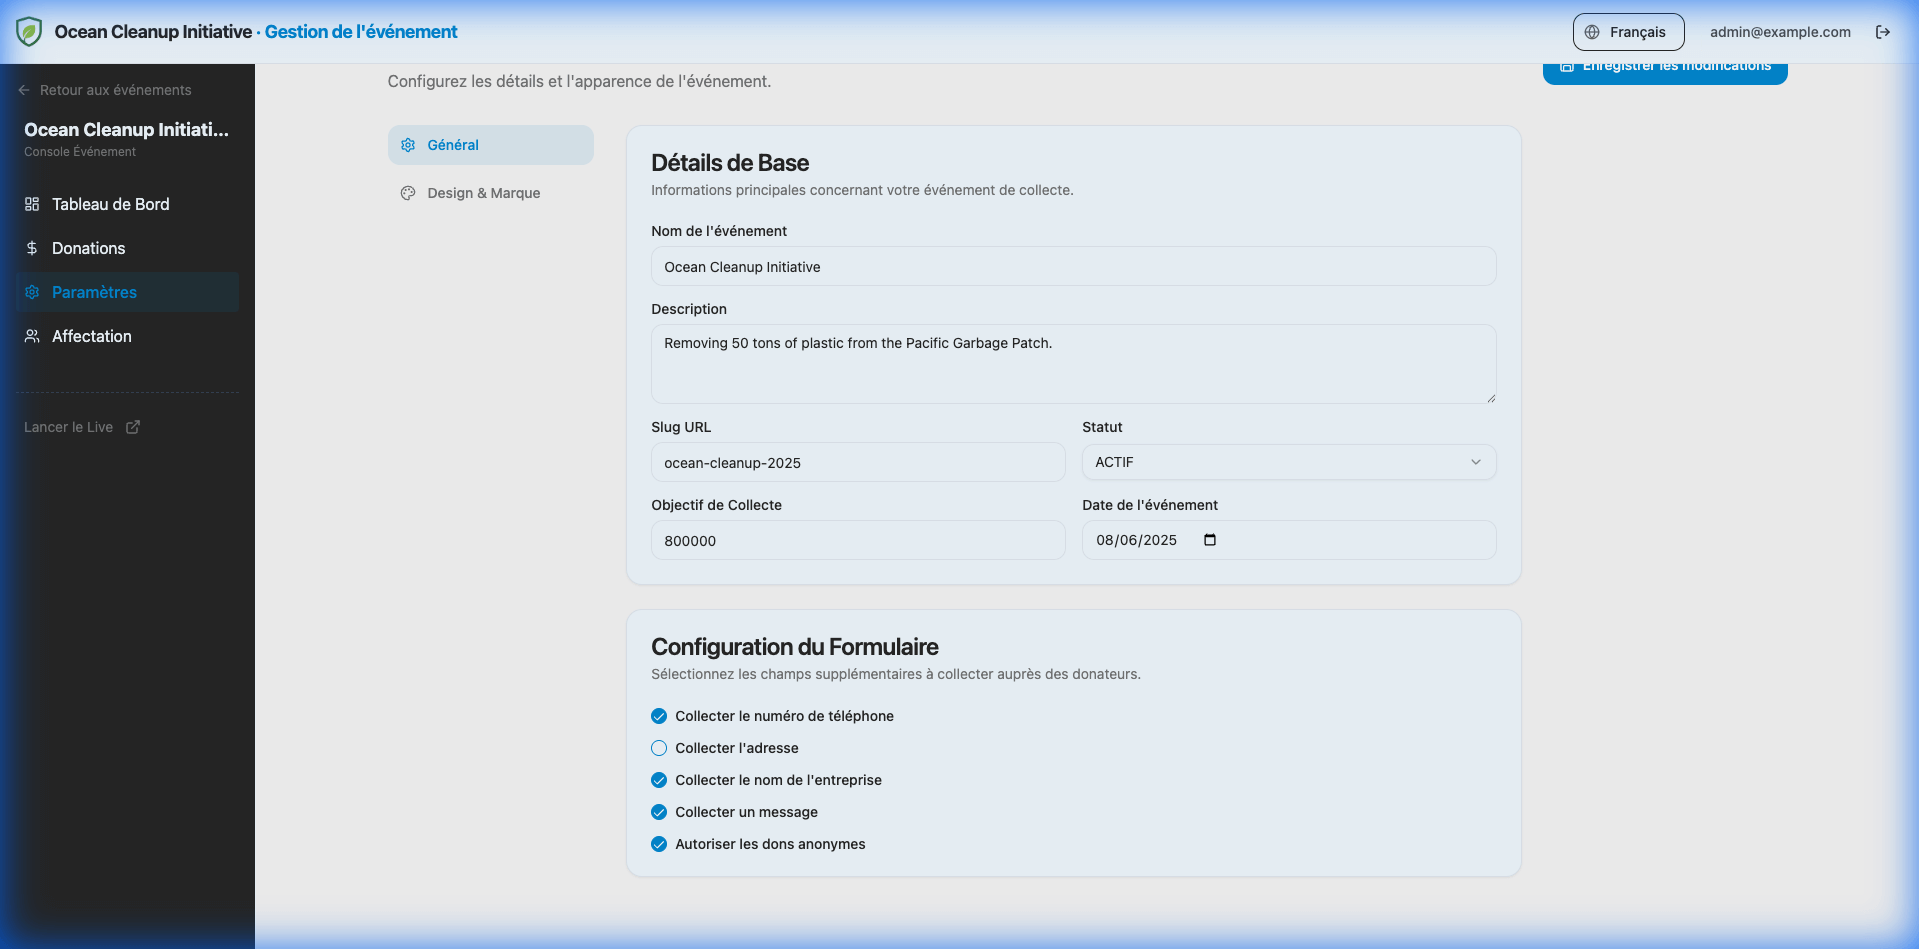
You can enable/disable:
- Phone Number
- Physical Address
- Company Name
- Message (Allow donors to leave a comment)
- Anonymous Donations (Allow donors to hide their name from public feeds)
Keeping the form short increases conversion rates. Only enable fields you strictly need.
Event Team & Staff Assignment
You can assign members from your Global Staff Pool to work on specific events. Assigned members can access the Collector App for this event using their PIN.
- Navigate to the Team tab in the Event Dashboard.
- Assign Member: Select a volunteer from the dropdown list.
- Confirm: The member is now authorized to collect donations for this event.
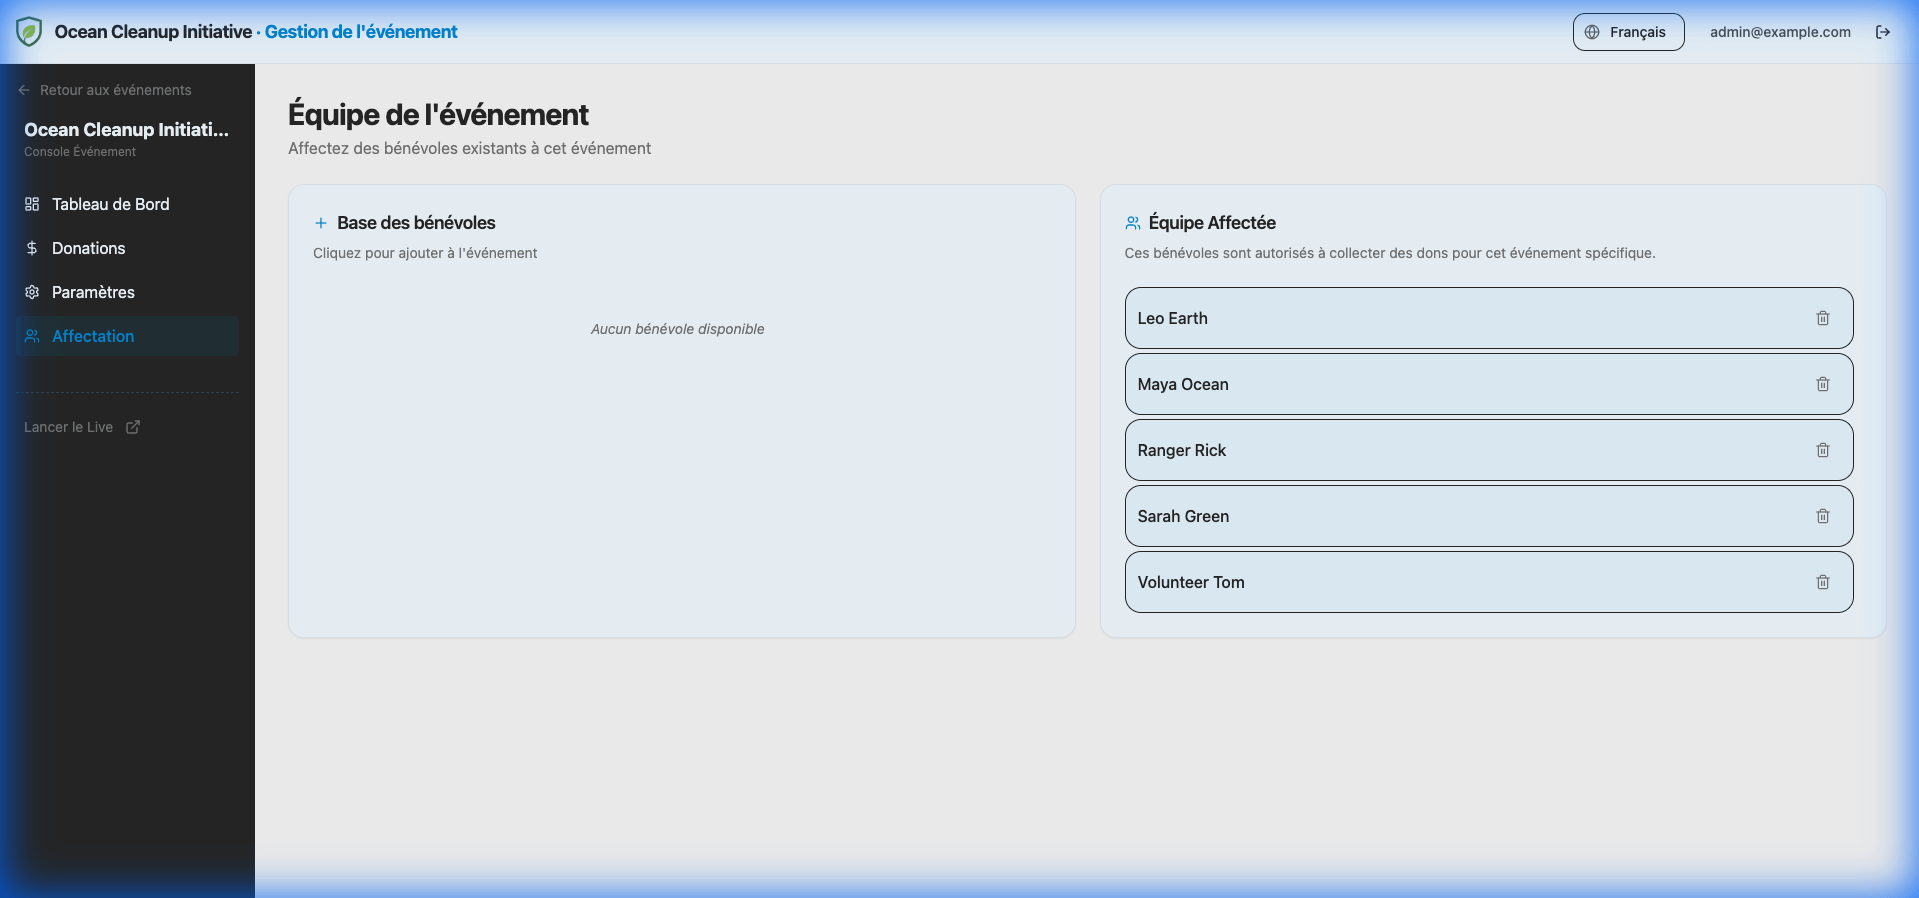
[!NOTE] Only members already added to the Global Staff Pool (via the main Staff tab) will appear in the list. To add new volunteers, see Staff Management.